Building Raised Beds for Easy Gardenings
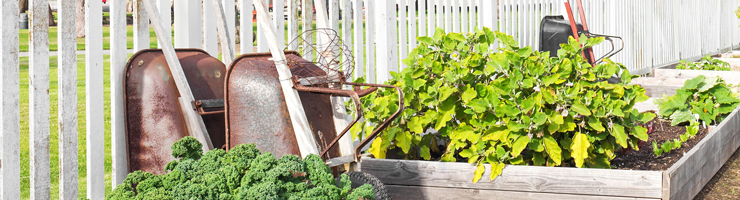
The Art of a Good Box
Before you can get started on planning your bountiful fall harvest, you’ll need to determine where to build your box. Pick out a spot in your yard, and if there’s grass there currently, draw an outline of where you want the box to go and gently remove the sod.
While building a box is not difficult, you will need a few power tools and a little know-how to put it together. Wood garden boxes are pretty typical and can be built with size-appropriate 2 x 4s and a 4 x 4 post. Be sure to purchase enough 2 x 4s to stack them on top of one another to create a larger garden box wall.
Cut the 2 x 4s and 4 x 4s to the desired length and screw the ends of the longer boards into the 4 x 4 so that the edges are flush and form panels. Screw the shorter 2 x 4s to the 4 x 4s to finish the box.
If you fear your carpentry skills are not up to snuff, several big-box hardware stores sell garden box kits for easy assembly – minus the power tools.
The Art of a Good Box
It’s What’s on the Inside that Counts
Place your newly-built box over your sod-less section and line with landscaping fabric. A staple gun will work great to secure the fabric in place and will help with weed control and burrowing pests. Now it’s time to add your soil. It’s important to purchase a quality soil with a 50-50 compost blend to create a rich bed from the start, providing your plants the best chance possible to thrive in their new home.
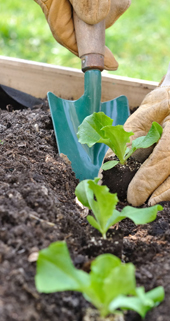
With your box now filled with rich, great-smelling dirt, it’s time to start planting! If you’re a bit late to the spring planting party, opt for pre-started plants from a nursery or hardware store to jumpstart your garden.