![]()
![]()
![]()
![]()
![]()
Paint Your Way to a Smooth Edge
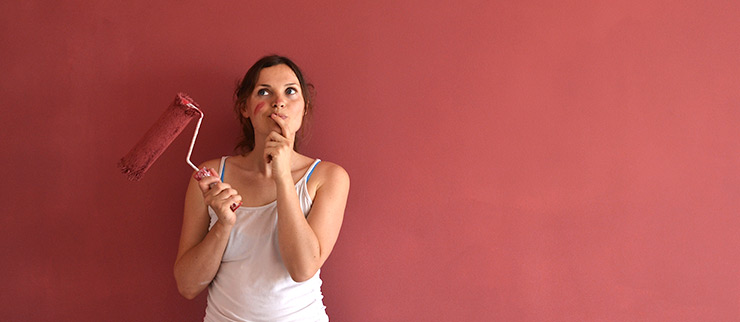
You probably never fully appreciated those clean edges where a textured wall of one color meets a textured ceiling of another — that is, until you’ve tried to do it yourself. Walls and ceilings of the same color are easy, but things get a little trickier when the colors begin to meet. This job may take a little more time, but using a simple painter’s trick will help you get the job done quickly — and correctly!
Start at the Top
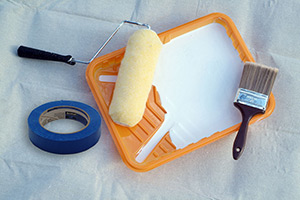
After you’ve put down your drop cloths and taped off your baseboards, begin by painting the ceiling as you normally would, but extend the paint beyond the perimeter to about three inches down the top of the wall. That’s right, start painting before taping off the wall. Because of the textured surface, painter’s tape can’t prevent paint from seeping underneath, which will spoil your perfect border.
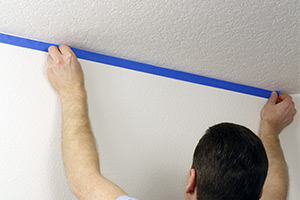
After your first coat of paint dries, then pull out the painter’s tape and adhere it to the ceiling with the tape edges running up against the wall.
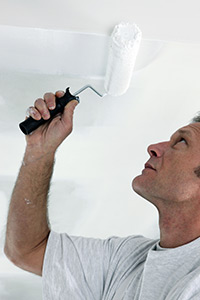
Now use a small brush and apply more of the ceiling paint on the top three inches of the wall along the outer edge of the ceiling tape. This second coat of paint will form a barrier as it seeps into the gaps beneath the tape and dries, preventing the wall paint you will apply later from messing up the new ceiling paint.
The Final Reveal: Magically Straight Lines
The ceiling paint you just applied needs to dry completely before painting over it, but you can paint the rest of the wall while you wait. Be sure to leave a small gap between the top of the wall and the ceiling. When the ceiling paint on the wall is dry, you can paint over it and a portion of the tape. Then gently peel off the tape while the paint is still moist to reveal a beautiful straight line that any painter would envy.
With just a little bit of know-how, and a little extra work, your textured walls will soon be updated with some new color love in no time!