How to Remove and Apply Caulk in Your Home
Caulk seals out moisture where two surfaces come together throughout your home. Over time caulk will shrink and will need to be replaced. When it’s time to replace caulk, you will need to remove the old caulk, select the appropriate type of caulk for the surface, and install the new caulk.
There are two types of caulk used in your home:
- Silicone Caulks are generally used in the wet areas of your home – tubs, showers and sinks. Paint will not adhere to silicone caulk.
- Latex Caulks are used with more porous surfaces such as around trim and painted areas. During installation, latex caulk can be cleaned off with water whereas silicone caulk cannot.
Removing Old Caulk from the Tub and Shower
1. Clean the work area with a combination bathroom surface cleaner/soap scum remover. This is an important step in a successful caulking job.
2. To determine what kind of caulk you are removing, use a sharp knife and try to cut the old caulk. If the caulk is rubbery and somewhat soft, it is most likely a silicone caulk. If it is very hard, it is probably a water-based latex caulk.
3. Silicone caulk can be removed with a utility knife. (Be careful and go slow so that you don’t cut the surface or yourself.)
To remove latex caulk, soften it with a hair dryer at medium to low temperature. Make sure to move the hair dryer back and forth over the caulk so that you do not overheat any one area. Once the caulk is soft, you can use a utility or putty knife to remove it.
4. After you have removed the old caulk, clean the area again with an alcohol wipe and allow it to dry for a few minutes.
Please note: If there was mildew around the area, the alcohol will not kill it. You should use a commercial mildew remover on the area after wiping it with alcohol and before applying the new caulk. Be sure to follow the product instructions for the mildew remover.
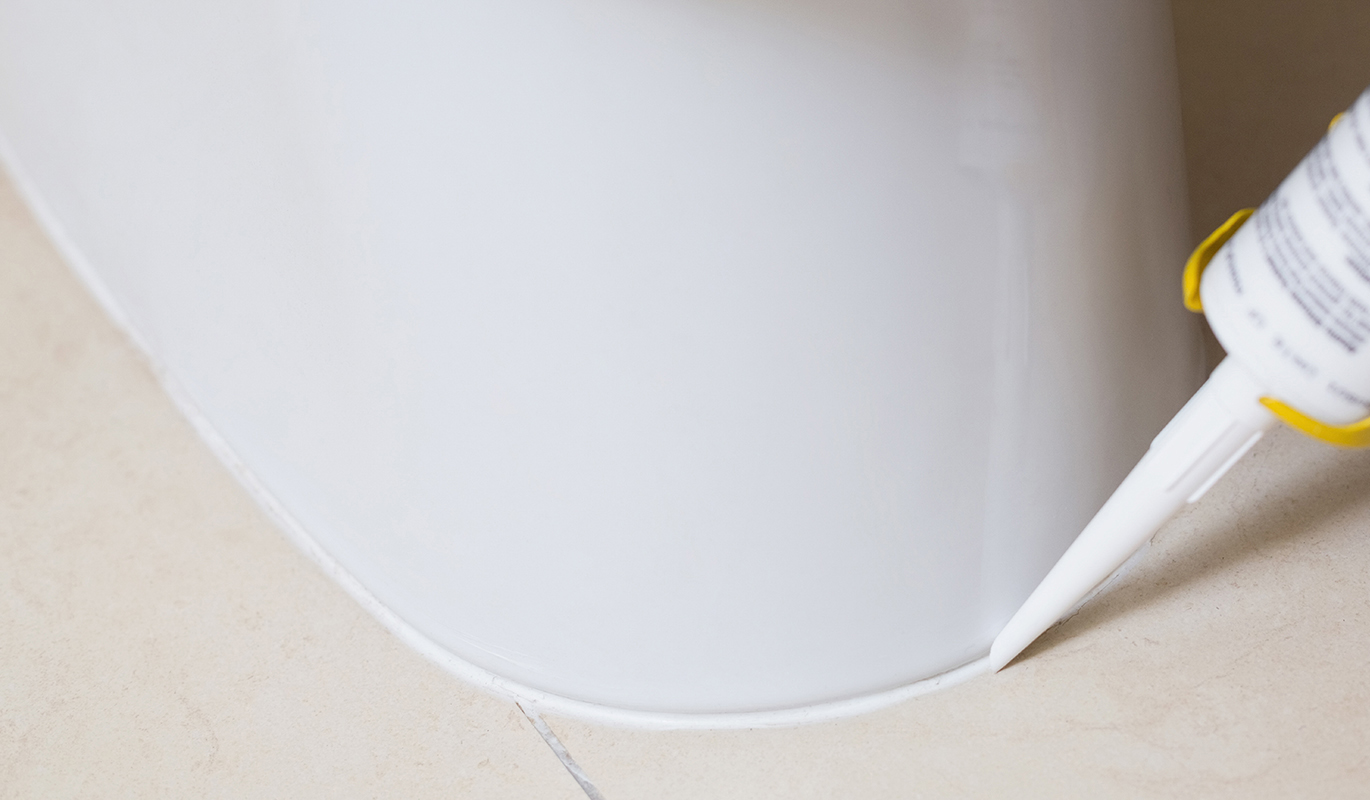
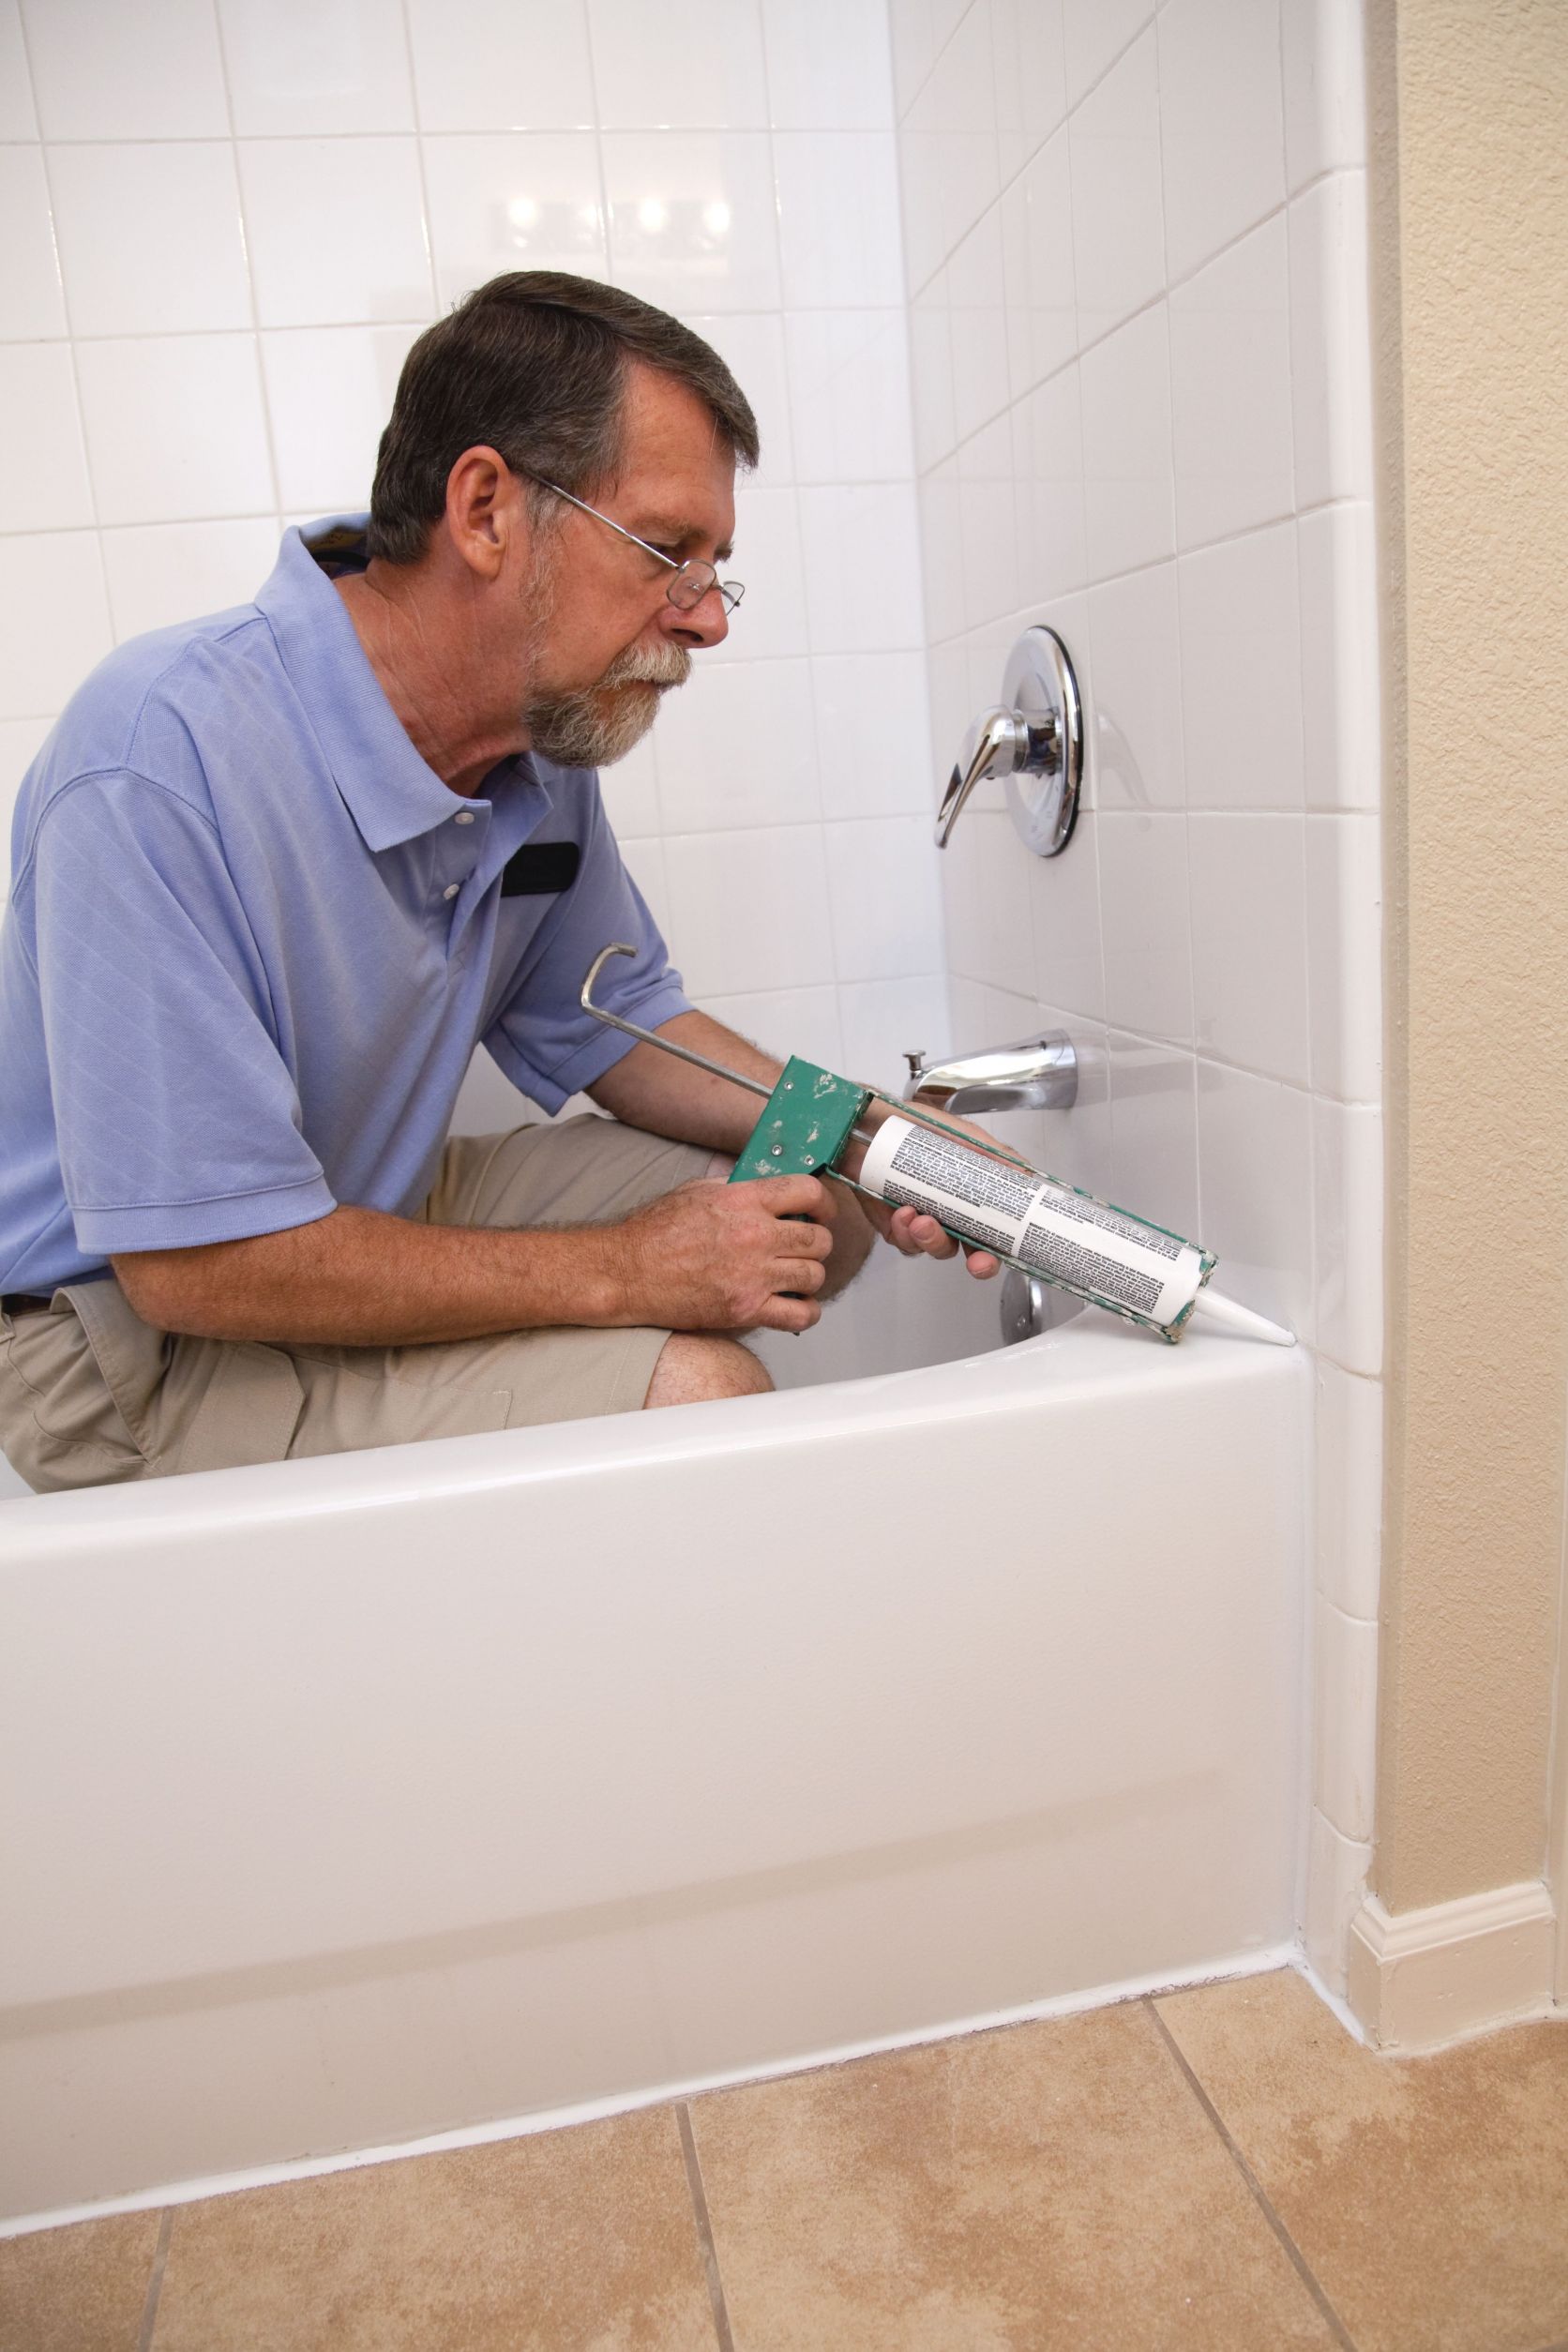
Applying New Caulk to a Tub and Shower
1. Make sure the area to be caulked is completely dry before you begin.
2. Caulk vertical seams first and then other areas, working toward the outside. Apply a bead of fresh caulk no more than ¼-inch wide right into one of the joints. It is important not to have the caulk bead too wide.
Please note: If you are using a tube of caulk that requires a caulk gun for installation, do not cut too large of an opening in the end of the tube. For best results, cut an opening of ¼-inch to ½-inch.
3. Moisten your finger with a damp sponge and glide it along the joint, pressing the caulk evenly into the joint. If you have applied the right amount of caulk, the gap between the end of your finger and the joint will smooth the caulk to a neat, even appearance.
If you have over-applied the caulk, try to remove the overage by using your finger and the sponge to wipe it off. If this still does not look right you may want to completely wipe the caulk out of the joint and try again.
4. As you finish a section, if there are any spots that seem to have too little caulk, add a little extra and smooth it in with your finger.
When applying caulk, you must work quickly. It only takes a couple of minutes for the caulk to begin the drying process.
For best results:
Plan on doing the whole job at one time. Try to eliminate any potential interruptions before you begin. If you stop in the middle of applying caulk and come back later to finish, the stopping/starting point may not seal well. This may allow an entry point for moisture and mildew growth.
Let the caulk dry overnight before using the tub or shower.
Applying New Caulk to a Tub and Shower
Exterior Doors, Trim and Windows
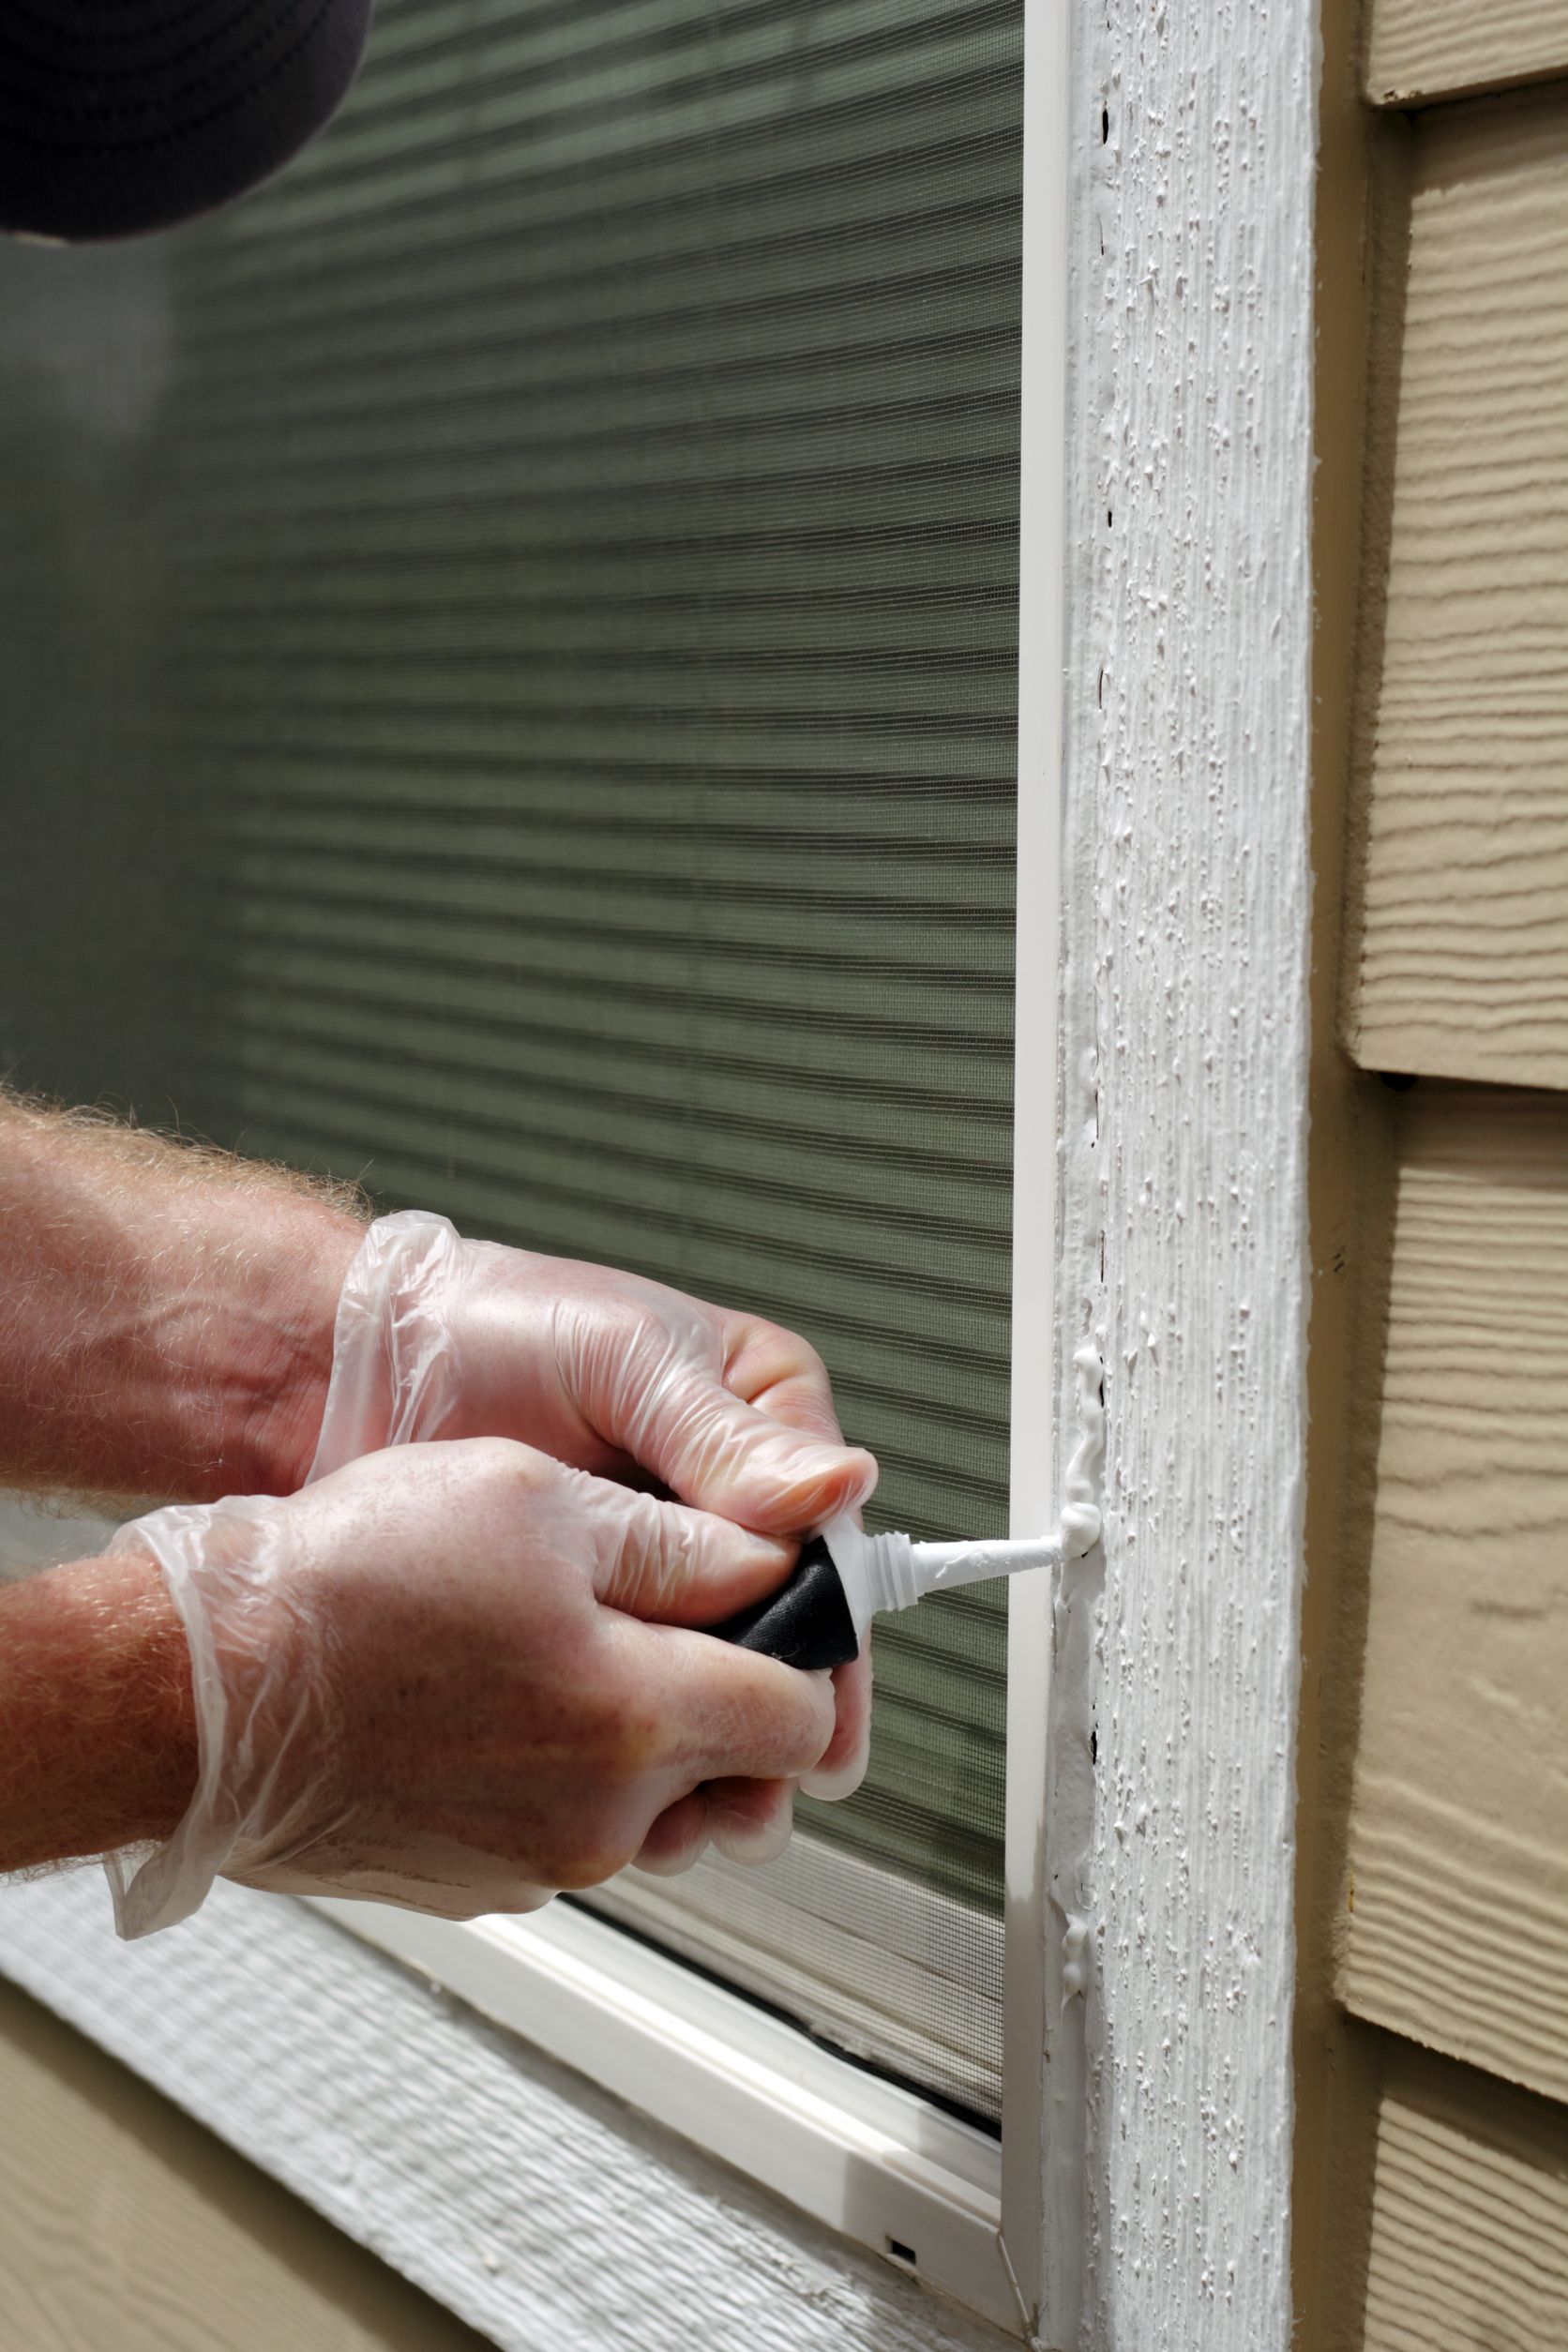
Exterior Doors, Trim and Windows
1. Remove any existing loose or failing caulk using a retractable razor-knife or putty knife.
2. Trim the end of a new tube of caulk and place it in a caulk gun.
3. Place the caulk gun over the gap or joint between the window and door frame and the house siding. Gently but steadily pull on the caulk gun handle to apply an even, smooth bead of caulk in the gap around the perimeter of the window or door. If accessible, be sure to include the window sill or door threshold as well.
4. Smooth the caulk with a small putty knife so that it fills the gap and is flush with the two sides of the gap.
5. To finish, wipe the newly sealed joint very gently with a damp cloth, taking care not to pull any of the fresh caulk from the gap.
6. Let the caulk dry completely before painting (if appropriate).