Seal the Deal for Big Results
The Right Tools

The Right Tools
To complete this DIY project, you’ll need a putty knife, gloves, moist rags, caulking gun and caulk. Be sure to always use exterior caulk for outside jobs and choose paintable caulk for interior jobs that will require you to paint over the caulk. You can also purchase foam backing rods for larger gaps. Consider using a caulk softener to make removing the old caulk easier.
Prep the Surface
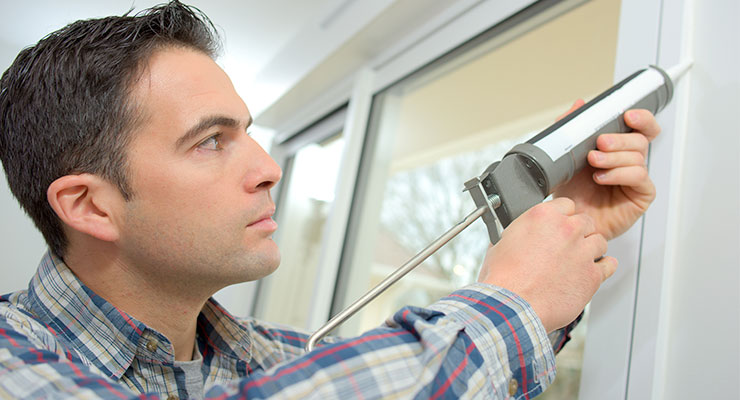
On day two, load the tube of caulk into the caulk gun. Cut the plastic tip at a 45 degree angle to create a 3/8 inch opening. Always use foam backing rods for any gaps wider than half an inch (Note: Never fill a larger gap with caulk because it won’t bond properly). Tuck the nozzle into the joint at a 45 degree angle and squeeze the trigger while pulling the gun toward you. Adjust the trigger pressure and speed of movement to produce one continuous bead of caulk that slightly overfills the gap. Try to avoid overfilling the gap and clean any messy spots before the caulk has time to dry. Smooth out any rough areas with a wet finger or popsicle stick to ensure a neat and tight joint.
By dedicating a few hours to properly caulk interior and exterior areas of your home, you’re making an investment that will pay off for many years to come!
Start Caulking
If you’re caulking the exterior of your home, you’ll want a few days of warm, dry weather to complete this job properly. Be sure to check the weather forecast before you begin. Start by using the putty knife to remove the old caulk, using caulk softener if needed. The next step is to clean the entire surface around the joint with a moist rag and allow a day for it to dry.