Does Home Improvement Give You a Sinking Feeling?

Kitchen and bathroom sinks are the unsung heroes in homes. They are a temporary resting place for dishes, container for soiled laundry, bathtub for little ones and are essential for getting ready in the morning. Daily use over the years can cause them to become stained, chipped or even cracked. If you’ve been considering replacing your current drop-in sink, the replacement process might be easier than you think.
Items to Have on Hand:

Items to Have on Hand:
1. Small bucket
2. Wrench
3. Utility knife
4. Replacement sink*
5. Pencil
6. Silicone caulk
*If planning to use the existing countertop, the new sink must be the same size and shape as the previous one. If you’re installing a new countertop, either choose one with a pre-cut opening that matches your new sink or hire a professional to cut the opening for you.
Water You Waiting For?
After gathering your supplies, your new and improved sink is just a few steps away – no professional plumbing training required!
1. Turn off the hot and cold shut-off valves under the sink by turning them clockwise.
2. Open your faucet handle(s) to drain the remaining water in the lines.
3. Position a small bucket beneath the P-trap assembly or curved pipe underneath your sink to catch any drain water and disconnect it from the sink’s vertical drain pipe.
4. Loosen and detach the nuts connecting the water lines to the sink.
5. Insert the blade of a utility knife into the silicone seal that bonds the sink to the countertop and slice it all around the perimeter from underneath.
6. Remove the existing sink.
Prep and Sketch
Place the new sink into the cutout and confirm that the rim rests securely on all sides without any gaps. Lightly sketch the sink’s outline on the countertop with a pencil, then remove it and attach the faucet, handles and drain assembly from above the countertop.
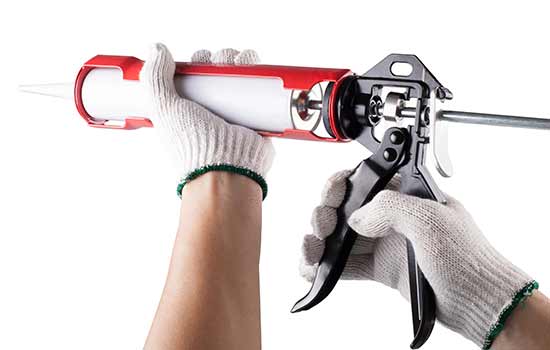
Thoroughly clean and dry the surface around the countertop opening where the sink will rest and apply a bead of silicone caulk around the cutout edge, inside the pencil line.
Prep and Sketch

Signed, Sealed, Delivered
Gently lower the sink into the opening and use your finger to smooth the silicone seal around the edges. Give the seal a couple of hours to set up before reconnecting the water lines and attaching the P-trap underneath.
Turn on the water and check for any leaks where things might need tightening. Your gleaming, new sink is ready to handle toothpaste, soap and splashes. Congratulations on getting your feet wet with DIY home improvements!


