Goodbye Bulky Bookshelves… Hello Floating Shelves
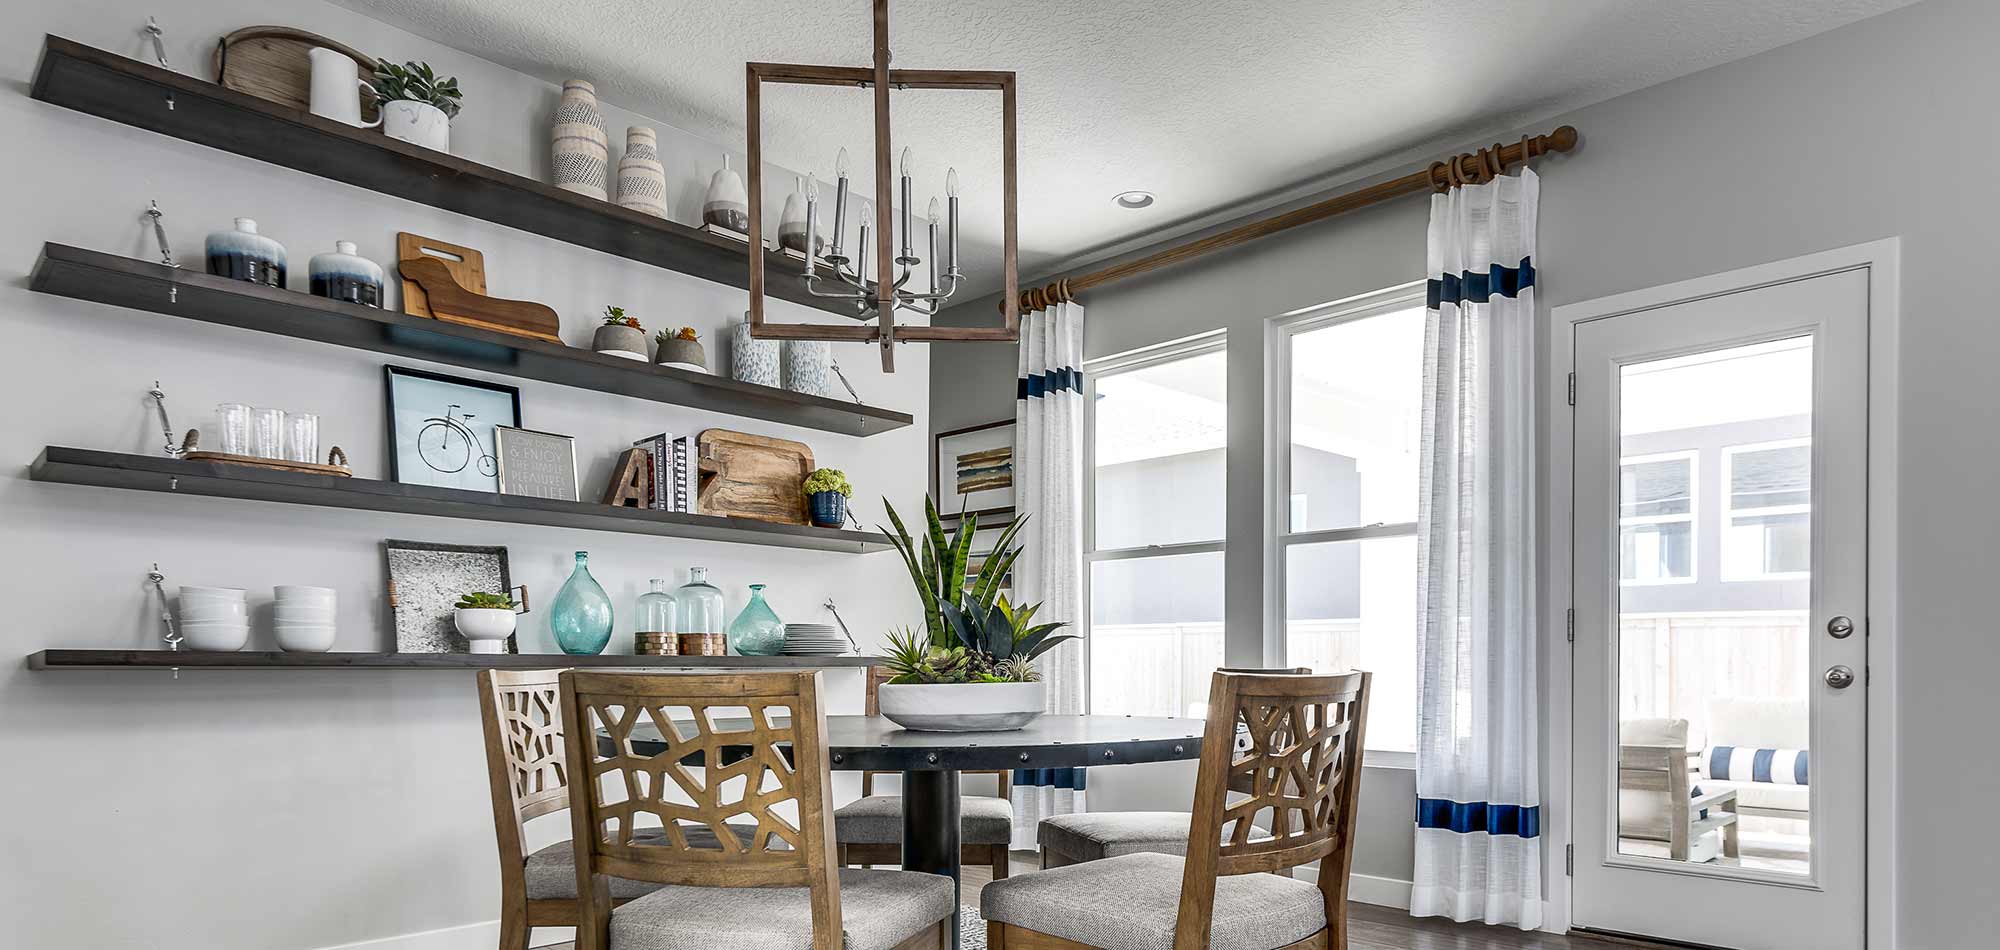
Here’s a new design trend worth hanging onto in your home… Floating shelves. This popular addition is ideal for those who love the chic and customized look they instantly add to any room – without taking up a ton of space. In addition to offering storage or display space, this design element will instantly elevate your interior style by creating an interesting focal point.
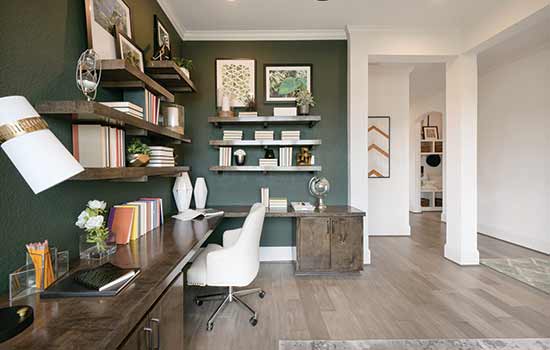
Whether it’s an empty nook that you’re looking to fill, or you want to add a standout design element like wrap-around corner shelving in your Family Room, this is a DIY project that you can tackle in a weekend – and you won’t need a garage filled with tools to do it!
Materials:
- (1) 2x8 piece of wood
- Sand paper (100 grit)
- Heavy-duty floating shelf brackets
- Drill
- 7/8-inch spade drill bit (at least 6 inches long)
- Stud finder
- Hammer
- Level
- Wood stain
- Miter saw
- Wall anchors (if not provided with shelf brackets)
Directions:
1. Decide on the shelf length and cut the 2x8 board to the appropriate length using a miter saw, or have it cut at the hardware store.
2. Sand and stain the wood, allowing to dry overnight.
3. Determine where the shelf will be installed. Next, use a stud finder to locate two studs in the wall that align with the placement of the new shelf. Note: The brackets will need to be spaced apart evenly to distribute the weight.
4. Install brackets in the studs by holding up the brackets in the desired location and marking bracket holes with a pencil. Use a level to ensure everything is straight before mounting the brackets.
5. Add anchors for additional support if there are no studs in the wall. To do this, drill a pilot hole in the drywall and use a hammer to tap the anchor in place before screwing in the bracket.
6. Install the bracket using the provided screws; repeat the step above to install second bracket.
7. Place shelf on top of wall brackets exactly where you want it positioned. Mark the center point of the bracket along the outside shelf edge with a pencil, making any adjustments.
8. Drill bracket holes along the edge of the board, about 6 to 6.25 inches deep, using the 7/8-inch bit. A tape measure is helpful to confirm the hole will be deep enough to properly fit the brackets.
9. Carefully slide the shelf onto the wall brackets.
10. Get decorating!